Honeywell MAGICSTAT CT3200 User Manual
Browse online or download User Manual for Control panel Honeywell MAGICSTAT CT3200. Honeywell MAGICSTAT CT3200 User Manual
- Page / 24
- Table of contents
- BOOKMARKS
- MagicStat 1
- Installation 2
- 69-0653-6 INSTALLATION 3
- Check your progress 5
- Heating System Table 7
- Special wiring instructions 9
- INSTALLATION 69-0653-6 10
- TempTime 11
- PROGRAMMING 69-0653-6 12
- Programming tips 13
- 70°F (21°C) 14
- 78°F (25.5°C) 15
- Step 5. Check out the system 16
- Operation 17
- Replace the batteries 18
- 69-0653-6 OPERATION 19
- Check programs 20
- Cancel a program 20
- Change a program permanently 20
- Frequently asked questions 21
- Customer assistance 22
- Limited warranty 23
- 69-0653-6 Rev. 9-01 24
Summary of Contents
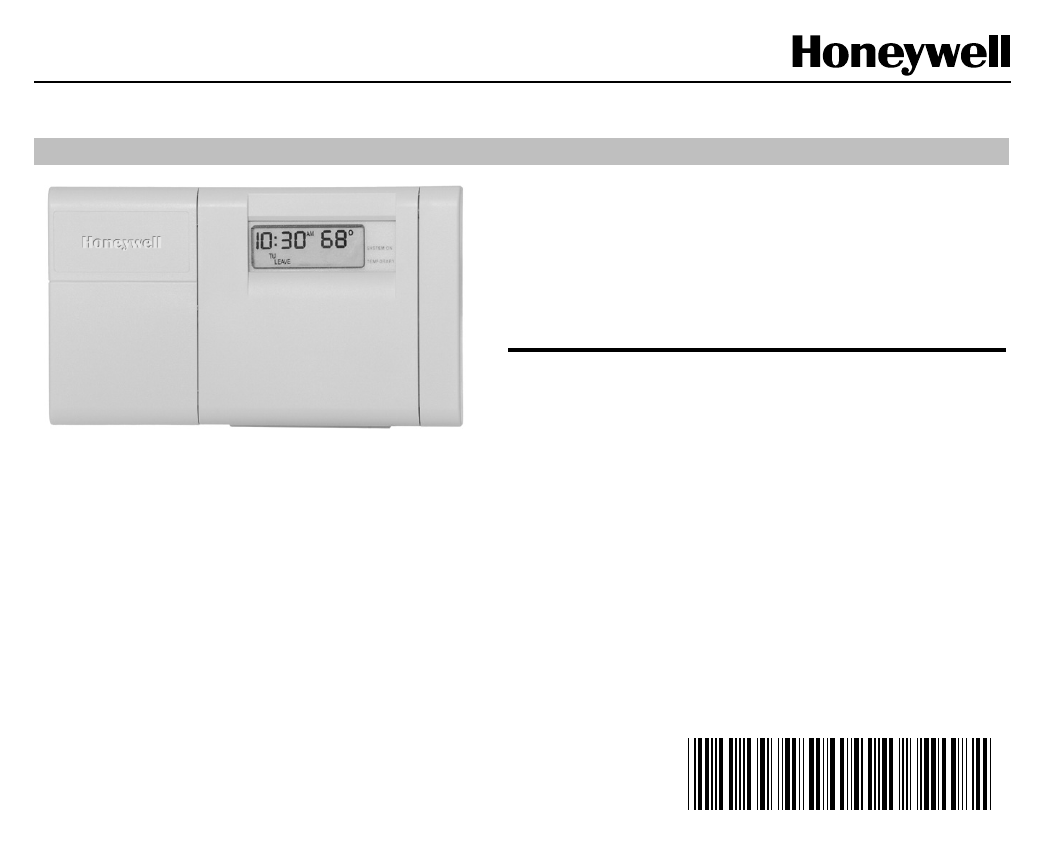
MagicStat® CT3200 Programmable ThermostatInstallation and Programming InstructionsWelcome to the world of comfort and energy savings with your new Hon
10INSTALLATION 69-0653-6M20127JUMPER (FACTORY-INSTALLED). REMOVE IF 5-WIRE SYSTEMRRcWY GFive wires connected to the old thermostatYour new thermostat
69-0653-6 PROGRAMMING11FanAuto OnSystemCool Off HeatSetScheduleSetclock/DayBackBackAheadAheadCoolerCoolerWarmerWarmerHoldTempRunProgramSYSTEM O
12PROGRAMMING 69-0653-6 Step 1. Set the current time and day Step 2. Learn about the programming featuresYour 3200 thermostat allows you to program sc
69-0653-6 PROGRAMMING13Programming tips• You do not need to program times and temperatures for all program periods.If you decide not to program your t
14PROGRAMMING 69-0653-6 Step 3. Program the heating schedulea. Write in the times and temperatures that you want to program for your heating schedule.
69-0653-6 PROGRAMMING15 Step 4. Program the cooling schedulea. Write in the times and temperatures that you want to program for your cooling schedule.
16PROGRAMMING 69-0653-6b. Set the System switch to COOL.c. Repeat steps 3c. through 3k. to program the weekday and weekend cooling schedule. Step 5. C
69-0653-6 OPERATION17 Operation Change the clock for Daylight/Standard timea. Press once.The time is displayed.b. Press and hold or until the cor
18OPERATION 69-0653-6 Replace the batteriesAs the batteries run low, your thermostat shows the following in the digital display:a. Make sure that the
69-0653-6 OPERATION19 Override the program settingsNote: Make sure the System switch is set to either HEAT or COOL before making any changes to the s
2INSTALLATION 69-0653-6 Installation Verify that you have the right thermostatMake sure that the CT3200 is the right thermostat for your heating/cooli
20OPERATION 69-0653-6Check the current programmed temperaturePress to display the temperature that is programmed for the current program period. The
69-0653-6 FREQUENTLY ASKED QUESTIONS21 Frequently asked questionsIf... Then...Display will not come on • Make sure the batteries are fresh and install
22FREQUENTLY ASKED QUESTIONS 69-0653-6Customer assistanceFor all questions concerning this thermostat, please read and follow the instructions. If you
69-0653-6 FREQUENTLY ASKED QUESTIONS23 Limited warrantyHoneywell warrants this product, excluding battery, to be free from defects in the workmanship
Home and Building ControlHoneywell1985 Douglas Drive NorthGolden Valley, MN 5542269-0653-6 Rev. 9-01Home and Building ControlHoneywell Limited–Honey
69-0653-6 INSTALLATION3 Step 1. Prepare for installationa. Carefully unpack your new thermostat. Save your receipt and make sure you have the followin
4INSTALLATION 69-0653-6 Step 2. Remove the old thermostatFig. 2Fig. 3Fig. 4WIRES THROUGHWALL OPENINGM20133a.Turn off power to the heating/cooling syst
69-0653-6 INSTALLATION5 Step 3. Install the mounting plateFig. 5Fig. 6Fig. 7M20128WRGRcYa. Separate the mounting plate from the thermostat using a coi
6INSTALLATION 69-0653-6 Step 4. Set the thermostat for your type of heating systema. Use the FUEL SWITCH on the back of the thermostat to set your new
69-0653-6 INSTALLATION7Heating System TableNote: Setting the screw “out one turn” means turning the screw 360° counter-clockwise, or one complete tur
8INSTALLATION 69-0653-6 Step 6. Mount the thermostat Step 7. Install the batteriesa. Align the tabs at the top of the thermostat with the tabs at the
69-0653-6 INSTALLATION9 Special wiring instructionsA clock thermostat with C or C1 terminalsA clock thermostat has one or two extra wires attached to
Related products and manuals for Control panel Honeywell MAGICSTAT CT3200
 (24 pages)
(12 pages)
(24 pages)
(12 pages)
 (8 pages)
(24 pages)
(28 pages)
(4 pages)
(8 pages)
(24 pages)
(28 pages)
(4 pages)
 (60 pages)
© 2020, manymanuals.com. All rights reserved. | 1.819 s |
 Manymanuals.com
 Manymanuals.de
 Manymanuals.fr
 Manymanuals.it
 Manymanuals.pl
 Manymanuals.cz
 Manymanuals.es
 Manymanuals-pt.com
Comments to this Manuals